Tuesday, November 30, 2010

Awards (The Versatile Blogger)

I would like to express my thanks to Zoe of Bake for happy kids for passing "The Versatile Blogger" award to me. To me, this is indeed a great honour, encouragement and motivation. I will continue to work hard and I hope I won't disappoint all of you, especially Zoe. :)


Thursday, November 25, 2010

Blueberry Orange Muffins


Presenting to you the second installment of my blueberry bakes: Blueberry Orange Muffins!! I was overjoyed to find that these baked muffins have nicely-shaped domes. Lesson of the day: Filling the muffin cups to about 70 - 80% full might be the trick to perform the dome magic. :) 


The sweet scent of oranges and the slightly tangy blueberries compliment each other perfectly. These soft and moist muffins make a great afternoon tea. :)


Thanks to Anncoo Journal for sharing the recipe. :)

Blueberry Orange Muffins
Adapted from: Anncoo Journal

Ingredients (Makes 16)
250 g plain flour
2 tsp baking powder
Pinch of salt
2 large eggs, lightly beaten
120 g castor sugar
180 ml vegetable oil
150 g plain yogurt
1 tsp vanilla extract
4 tbsp fresh orange juice
Grated orange zest from 1/2 orange
125 g blueberries

Method
1. Sift plain flour, baking powder and salt together into a mixing bowl and mix well. Set aside.
2. In another bowl, gently whisk the eggs and sugar together. Add in oil, yogurt, vanilla extract, orange juice and zest until it is combined. 
3. Pour the wet mixture into the dry ingredients. Fold with a spatula until they are well-combined and no traces of flour remain. Do not over-mix; mixture should be lumpy.
4. Add in blueberries and mix lightly.
5. Spoon the batter into the muffin cups till 80% full. Bake in a preheated oven at 190°C for 20 – 25 minutes.

Notes
- I used cake flour instead of plain flour.
- Can consider reducing the amount of vegetable oil.

Wednesday, November 24, 2010

Kinako Chiffon Cake

After my last post on Pu-Erh Chiffon Cake, I did a chiffon cake again last week. However, that chiffon cake (I shall leave it unnamed) failed terribly. Initially it rose nicely in the oven, but for some reasons, it started to shrink before the baking time was up. Upon unmolding, it was 1/4 of the supposed height and the top was badly dented. :( It didn't look like a chiffon cake and it didn't taste like a chiffon cake. Sigh... I have to blame it on my poor skills again. If my success rate for my chiffon cake is listed on the stock exchange, I will strongly urge everyone of you not to buy this "stock". Haha...

Recently, I bought a pack of soy bean powder (kinako) without any idea in mind what I want to do with it. I managed to find a few recipes in Keiko Ishida's Okashi book that uses kinako. Hmm, should I bake another chiffon cake? If I fail again, that goes my precious kinako. Keeping fingers crossed, I proceeded ahead and I am absolutely satisfied with the outcome. My chiffon cake is tall and mighty! Success!!


I don't know why but this Kinako Chiffon Cake has a slight peanut butter taste. Haha... I would not have guessed correctly that it is kinako, if I am not the one making it. An light and interesting cake with a nice aroma! :)

I am submitting this to Aspiring Bakers #1: Chiffon Cakes (Nov 2010) hosted by Small Small Baker.


Kinako Chiffon Cake
Adapted from: Okashi – Sweet Treats Made with Love by Keiko Ishida

Ingredients (Makes a 20-cm tube cake)
(A)
50 g pastry flour
5 egg yolks
20 g brown sugar
60 g water
60 g canola oil
50 g soy bean powder (kinako)
(B)
180 g egg whites (about 5 eggs)
90 g castor (superfine) sugar
10 g rice flour / corn flour

Method
1. Preheat oven to 160°C. Sift flour once.
2. Combine egg yolks and brown sugar in a bowl and mix well. Add water and canola oil and blend together. Add flour and mix until batter becomes sticky, then fold in soy bean powder. 
3. To make meringue:  Combine sugar and rice or corn flour. Beat egg whites until foamy. Add half of sugar and flour mixture and continue beating for a few minutes, then add remaining sugar and flour mixture and beat until egg whites are glossy, with stiff peaks.
4. Add one-third of meringue into egg yolk mixture and fold in lightly, then add remaining meringue and fold to incorporate completely.
5. Pour batter into an ungreased chiffon cake tube pan. Bake for 40 – 50 minutes. When cake is done, remove from oven and turn it over, leaving it to cool.
6. Once cake has cooled completely, carefully run a knife or spatula around the sides of the cake to loosen it before inverting onto a wire rack.

Notes
- I replaced pastry flour with cake flour; brown sugar with castor sugar.
- I omitted the red bean cream and sesame seeds for garnishing.

Wednesday, November 17, 2010

Shenandoah Valley Blueberry Cake

Finally, the long-awaited sale was here! Nope, it is not clothes, bags or shoes. It is blueberries!!! For a period of time, the price of the blueberries was soaring high. I was so excited to find them on discount. Grabbing a few punnets of the blueberries is just the most intuitive and sensible thing to do. :P

When I first saw the Shenandoah Valley Blueberry Cake at Cook.Bake.Love months ago, I was mesmerised by the beautiful name and Angel of Cook.Bake.Love had given good reviews on the cake. I told myself, I shall try this recipe once I get hold of blueberries. And I did. :)


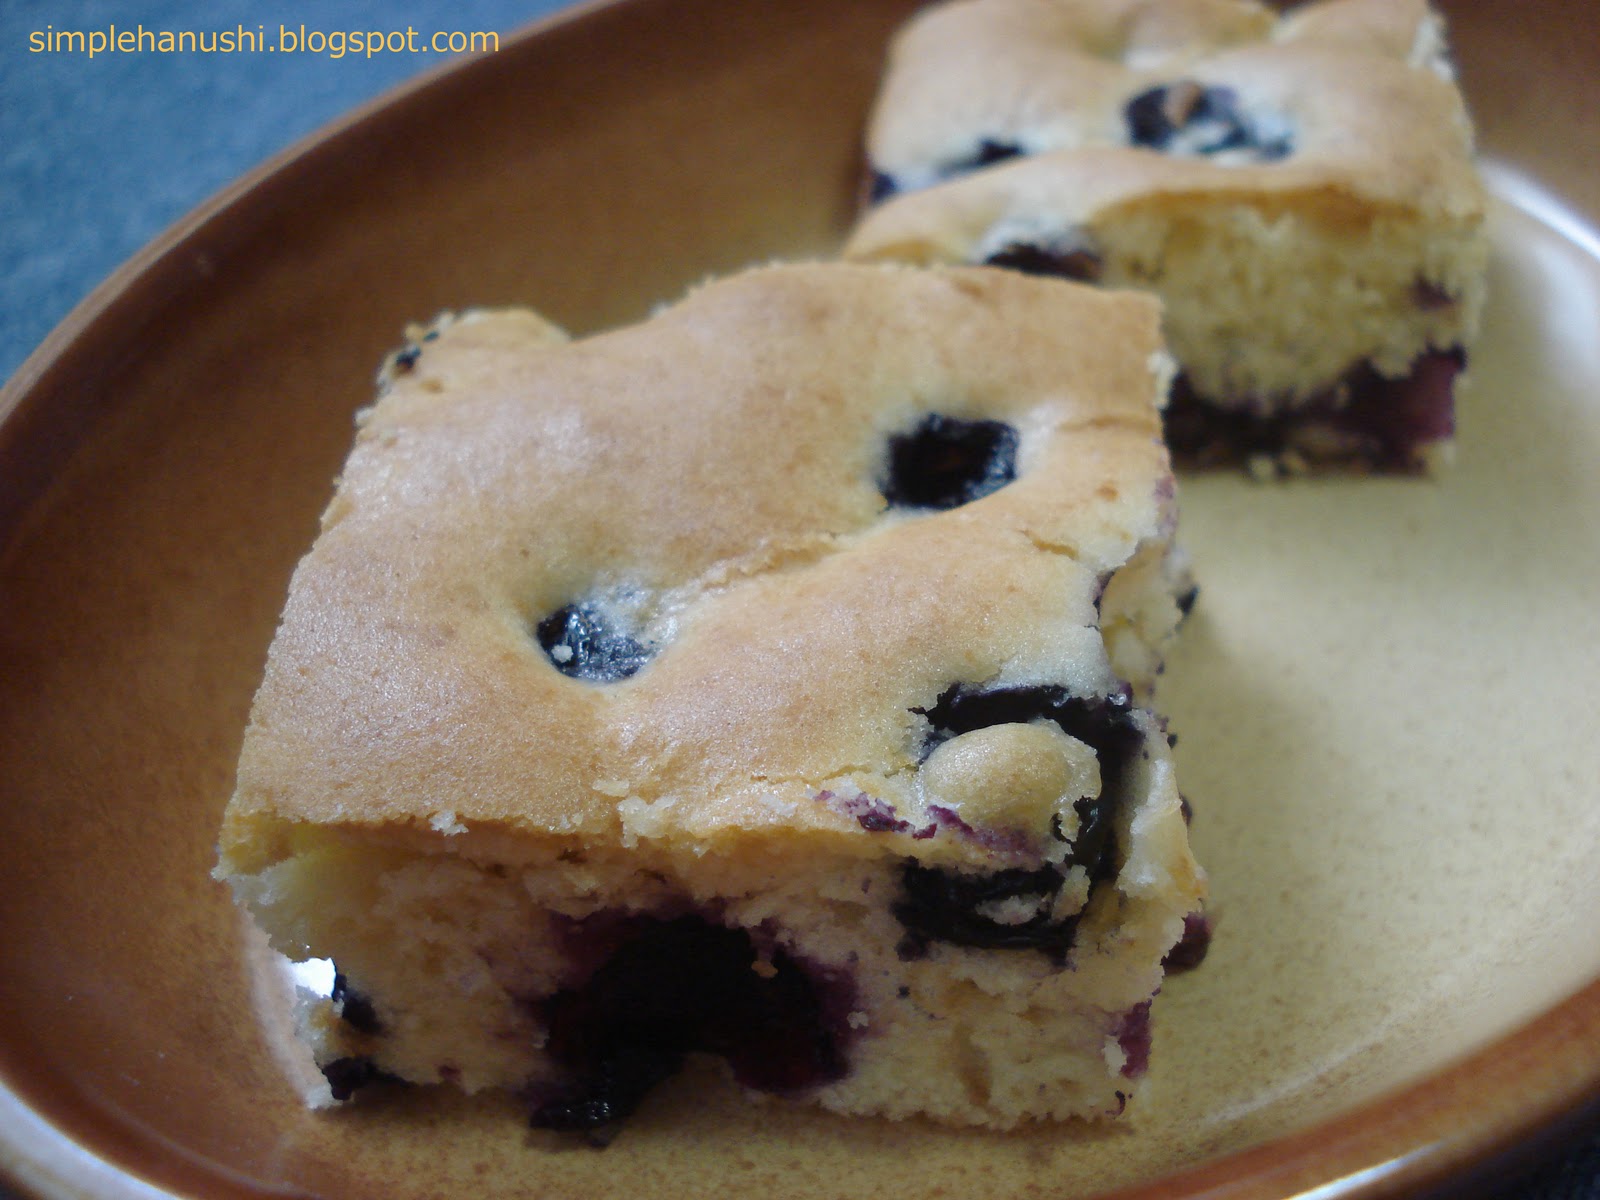
I have to agree that this batter is really extremely thick and hard to work with. I can barely mix the batter after I added in the frozen blueberries, lest to say to smoothen the batter when I scrapped it into the baking pan. I had to resort using my clumsy fingers to spread the batter and blueberries on the baking pan (Hehe... Sorry for the unglam). The end product is definitely beyond my expectation, a light and delicious cake with blueberries oozing in each mouthful. If only the blueberries are not so tangy. Hehe...


Thanks to Cook.Bake.Love for sharing the recipe. :)

Shenandoah Valley Blueberry Cake
Adapted from: Cook.Bake.Love and Southern Cakes by Nancie McDermott

Ingredients (Makes a 9-inch square or a 9-inch round)
210 g plain flour
1 1/2 tsp baking powder
1/4 tsp salt
75 g unsalted butter, softened at room temperature
130 g sugar
1 egg
80 ml milk
125 g fresh or frozen blueberries (do not thaw)

Method
1. Heat the oven to 375°F (190°C) and generously grease a 9-inch square or round pan.
2. Combine the flour, baking powder and salt in a small bowl, and stir with a fork to mix well.
3. In a medium bowl, combine the butter and sugar and beat with a mixer at high speed until well combined.
4. Add the egg and beat well for 1 to 2 minutes, stopping to scrape down the bowl, until the mixture is smooth and light.
5. Stir in half the flour mixture, then half the milk, mixing just enough to keep the batter fairly smooth and well combined. Add the remaining flour mixture, then the rest of the milk, mixing gently. Stir in blueberries.
6. Scrape the batter into the prepared pan and bake at 375°F (190°C) for 30 minutes, or until the cake is golden, springs back when touched gently in the centre and is pulling away from the sides of the pan.
7. Serve a square cake right from the pan, warm or at room temperature, cut into small squares. If it is round, let the cake cool in the pan on a wire rack or folded kitchen towel for 10 minutes, and then turn it out to cool on a wire rack, top side up.

Saturday, November 13, 2010

Huat Kueh


I have cravings for a simple and fuss-free afternoon snack. Equipped with a hand whisk, a mixing bowl, a kitchen scale and a steamer and I am on my way to whip up these little steam cakes. Cleaning up is easy and fast too.

I love the "smiling" top of the huat kuehs; they make my day bright and beautiful too. :) I made 9 of them in 3 separate batches. You may have noticed that there are only 7 in the photo. No prize for guessing where the other 2 went to. *Grin*

Thanks to Eating Pleasure for sharing the recipe. :)

Huat Kueh
Adapted from: Eating Pleasure

Ingredients (Makes 3 small cupcakes)
130 g self-raising flour
35 g black sugar
35 g white sugar
25 g coconut cream
100 ml hot water

Method
1. Place some water into a steamer and bring it to boil.
2. Dissolve the black sugar and white sugar in the 100 ml hot water.
3. Sift self-raising flour in a big bowl. Mix with coconut cream. Sift in the sugar syrup slowly and mix until you get a gluey batter.
4. Fill the batter into paper cups. Steam over high heat for 12 - 15 minutes.

Notes
- I replaced black sugar with white sugar (total amount of sugar used was 70 g); self-raising flour with 130 g plain flour, 1 ½ tsp baking powder and a pinch of salt.
- Made 3 batches. Added a few drops of pandan paste to 2 batches.

Friday, November 12, 2010

Pu-Erh Chiffon Cake


This cake marks the official debut of my new chiffon pan bakes! :)

When I first took the chiffon cake out of the oven, I was disheartened. The top was badly cracked and looked real ugly (which you may not be able to tell since the cake was inverted for photo-taking and serving). However when I unmolded and sliced the cake, my heart skipped a beat. I am pleased to announce that this Pu-Erh Chiffon Cake has passed the test! I am refering to my own chiffon cake test and with this bake, my chiffon cake success rate has improved slightly. Hehe... The moral of the story is don't jump into conclusions too soon and judge a chiffon cake by its "initial" appearance!

This chiffon cake is very soft and fluffy. On top of that, it has a light, nice tea fragrance. If you are a tea lover like me, I am sure that you will love this cake! :)

I am submitting this to Aspiring Bakers #1: Chiffon Cakes (Nov 2010) hosted by Small Small Baker.


Thanks to Happy Home Baking for sharing the recipe. :) I made some modifications to the recipe to make Pu-Erh Chiffon Cake.

Pu-Erh Chiffon Cake (普洱戚风蛋糕)
Adapted from: Happy Home Baking

Ingredients (Makes an 18-cm tube cake)
(A)
3 egg yolks
40 g castor sugar
100 g cake flour
1 tsp baking powder
Pinch of salt
1 tbsp Pu-Erh tea powder
50 ml vegetable oil
75 ml water
(B)
3 egg whites
40 g castor sugar

Method
1. Sift cake flour, baking powder and salt together, set aside.
2. Place egg yolks in a mixing bowl, add sugar in 3 separate additions and with a manual whisk, whisk till the mixture becomes sticky and turns pale.
3. Drizzle in the oil, whisking at the same time till the mixture is well combined. Repeat the same with the water.
4. Add in the flour mixture and whisk until flour mixture is fully incorporated into the batter.
5. Add in the tea powder and mix well.
6. In a clean, dry mixing bowl, beat egg whites with an electric mixer until mixture becomes frothy and foamy. Gradually beat in the sugar and beat on high speed until stiff peaks form.
7. Add the beaten egg white into the egg yolk batter in 3 separate additions, each time folding gently with a spatula until just blended.
8. Pour batter into an ungreased 18-cm tube pan. Tap the pan lightly on a table top to get rid of any trapped air bubbles in the batter.
9. Bake in a preheated oven at 170°C for 45 – 50 minutes or until the cake surface turns golden brown, and a skewer inserted into the centre comes out clean.
10. Remove from the oven and invert the pan immediately. Let it cool completely before unmold.

Notes
- If the tea leaves are coarse, use a mortar and pestle or a grinder to grind it till fine and powdery before use.
- I steeped the tea powder in 75 ml hot water for a few minutes. The tea powder and water were cooled and added together in the batter, after the oil addition.
- I used 2 Richshaw Pu-Erh tea satchels. If you prefer a richer and stronger tea flavour, you can consider using more tea satchels.

Saturday, November 6, 2010

My Heartfelt Thanks

I have finally found my 18-cm chiffon pan! A very big "Thank You" to Fatmum, who knew that I was searching for the pan and it was really sweet of her to help me get it during her shopping trip.

I met her yesterday for the first time. Besides the chiffon pan, she also prepared a freshly baked Matcha Butter Cake and Mochi Bread (using the mochi bread flour her brother got from Korea). I felt so blessed and touched! *感动万分*

Here are the photos of the yummy matcha cake and the QQ mochi bread from Fatmum. Simply delicious and thumbs up!!


Friday, November 5, 2010

Banana Cinnamon Muffins

Confession: I am not a muffin person. Most of the muffins that I had eaten were dense and oily and I always had the feeling that I was eating mouthfuls of oil. However, all this became history ever since my encounter with these Berry Berry Berry Muffins.

It began when I had some blueberries and Honey Boy of Cosy Bake suggested that I made muffins with them. She greatly recommended her favourite muffin recipe. I noticed that the recipe used cinnamon powder, however I am not a big fan of cinnamon either. Nonetheless, I decided to give this muffin recipe a try.

I was completely won over. The baked blueberry muffins were so soft, fluffy and fabulous, totally different from the usual muffins that I came across. This Berry Berry Berry Muffins recipe is definitely a keeper!


This time round, I made some modifications to the recipe to make Banana Cinnamon Muffins. I apologise if the photos did little or no justice to these wonderful muffins. I spooned too much batter into the muffin cups and they overflowed during baking. The lighting was poor as well when I was taking the photos. However, I strongly recommend this muffin recipe and hope you enjoy them as much as I do. :)


Thanks to Cosy Bake for recommending and sharing the recipe. :)

Banana Cinnamon Muffins
Adapted from: Cosy Bake

Ingredients (Makes 12)
200 g cake flour
2 tsp baking powder
1 tsp cinnamon powder
125 g castor sugar
2 eggs
120 g butter, melted / vegetable oil
3 tbsp milk
180 g bananas, mashed (2 Del Monte bananas)

Method
1. Whisk the eggs and sugar together till pale and sugar is dissolved.
2. Add in melted butter (or vegetable oil) and mix well, followed by milk.
3. Sift in flour, baking powder and cinnamon powder to the batter and give it a quick mix using a spatula. Do not over-mix; mixture should be lumpy.
4. Add in the mashed bananas and mix lightly.
5. Spoon the batter into the muffin cups. Bake in a preheated oven at 180°C for 25 minutes.
6. Cool the muffins on wire rack after baking.